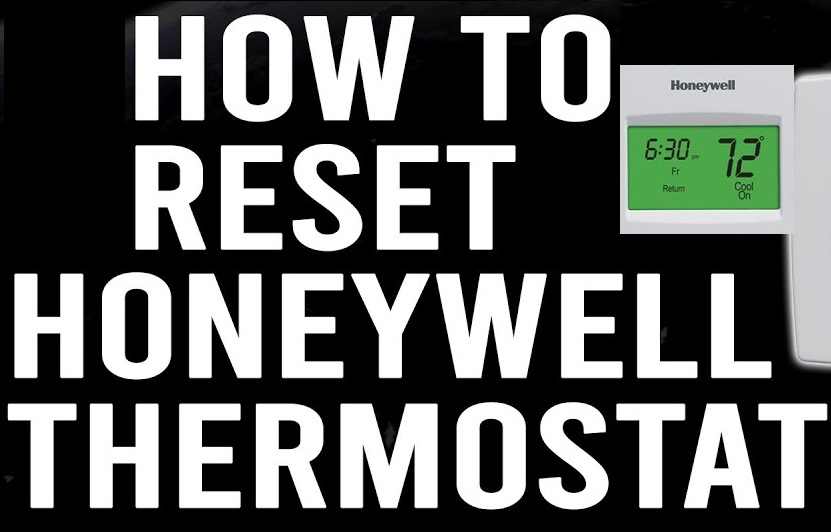
Having a Honeywell thermostat can greatly enhance your home’s heating and cooling system. However, there may be instances where you need to reset it to troubleshoot issues or make necessary adjustments. While some Honeywell thermostats come with a reset button, others may not. In this article, we will guide you through the process of resetting a Honeywell thermostat without a reset button, ensuring that you can restore it to its default settings and resolve any problems you may be facing.
Understanding the Need for Reset Honeywell Thermostat:
Resetting your Honeywell thermostat can be helpful in various situations. It can rectify issues like a frozen screen, unresponsive controls, incorrect temperature readings, or even connectivity problems. By performing a reset, you can clear any temporary glitches and restore your thermostat’s functionality.

Step 1: Identify Your Honeywell Thermostat Model:
Before proceeding with the reset process, it is crucial to identify the model of your Honeywell thermostat. This information can usually be found on the device itself or in the accompanying user manual. Once you determine the model, you can proceed with the appropriate reset method.
Step 2: Locate the Circuit Breaker:
To initiate the reset, you will need to locate the circuit breaker that supplies power to your heating and cooling system. This circuit breaker is typically located in your home’s electrical panel. Locate the breaker that corresponds to your HVAC system and switch it off. This action will cut power to the thermostat.
Step 3: Remove the Thermostat from the Wall:
Carefully remove the thermostat from its wall mount by gently pulling it away from the wall. Be cautious not to damage any wires connected to the thermostat during this process.
Step 4: Remove Batteries (If Applicable):
If your Honeywell thermostat is battery-powered, remove the batteries. This step ensures that any residual power is drained from the device, aiding in a complete reset.
Step 5: Wait for a Few Minutes:
Allow a few minutes to pass before proceeding. This waiting period ensures that the thermostat’s memory is fully cleared, allowing for a fresh start.
Step 6: Reinsert the Batteries (If Applicable):
If your Honeywell thermostat is battery-powered, insert the batteries back into their respective compartments. Ensure they are properly aligned and secure.
Step 7: Reattach the Thermostat to the Wall:
Gently reattach the thermostat to its wall mount, ensuring that it is correctly aligned. Make sure to reconnect any wires that were disconnected during the removal process. Double-check that the connections are secure.
Step 8: Restore Power to the Circuit Breaker:
Return to your home’s electrical panel and switch the circuit breaker back on, restoring power to your heating and cooling system. This action will provide power to the thermostat again.
Step 9: Set Up Your Thermostat:
Following the reset, you will need to set up your Honeywell thermostat according to your preferences. This may include adjusting the temperature settings, configuring schedules, or connecting it to a Wi-Fi network if applicable. Refer to the user manual for instructions specific to your model.
Conclusion:
Resetting a Honeywell thermostat without a reset button is a straightforward process that can help you overcome various issues and restore optimal functionality. By following the steps outlined in this article, you can successfully reset your thermostat and regain control over your home’s heating and cooling system. Remember to refer to the user manual for any model-specific instructions and enjoy the comfort and convenience provided by your Honeywell thermostat.